- Flex PCB Capability
- PCB Assembly Capability
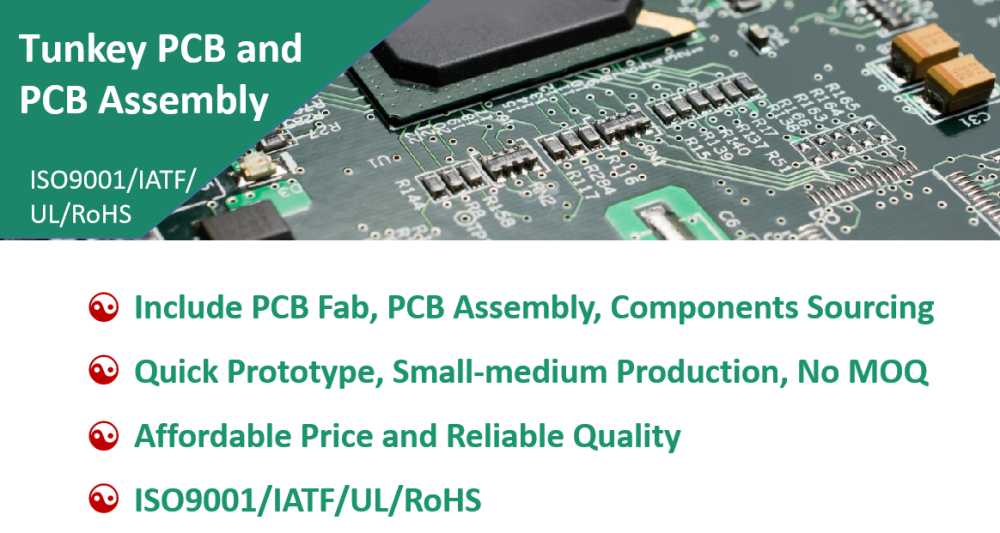
- Standard PCB Assembly Capability
- Files Required for PCB Assembly
- PCB Assembly Process
- Our PCB Assembly Factory

Step 1: Parts Preparation
Before do PCB Assembly, we need to ensure the PCB manufacturing job already done and the components are all ready and if the PCB boards and the components need be baked or not.
For PCB boards, we will do E-test (flying probe test or test fixture test) and solderablity test to ensure all boards work well before mounting the parts.
For components, we will check them all with the BOM file to ensure they are all ready and correct for the quantity, PN, value, package, etc. And also we will check if any parts need be baked. If you have any special requirements for some main parts, please let us know in advance.
After PCB and components are all ready, we will do IPQC (InPut Process Quality Control) to ensure everything are no problem.
Step 2: Print Solder Paste
After everything ready, we will put the PCB and components in SMT line and set-up the Machine. Then we will use stencil and print the solder paste to the SMD pads on the PCB board. This process is kind of like silkscreen process, we put a thin, stainless-steel stencil over the PCB and print the solder paste. Normally it would be done by automatical solder paste print machine, and if the quantity is small or the PCB is too long, etc, we sometimes also print the solder paste by semi-automatic solder paste print machine.
The solder paste mixed solder with flux, which is a chemical designed to help the solder melt and bond to the PCB surface. And the Solder paste must be applied to the copper pads correctly in places and amounts to ensure the soldering quality.
Step 3: Pick and Place the components to PCB boards
After print the solder paste to the PCB board, the PCB boards would automatically move to the pick and place machine, a SMT machine pick and place the surface mount components (SMD parts) on the PCB board that printed solder paste. Normally the parts will be mounted from small parts to big parts.
Step 4: Reflow Soldering
After all SMD parts placed on the PCB board, we need to move the PCB boards to the reflow soldering oven to heat the solder paste and to make the parts soldered on the PCB pads well. The oven have different temperature areas which would gradually heat the board and solder paste and parts from indoor temperature to 250℃ around and then cool donw slowly. So it would have a temperature curve. Ours reflow soldering oven have 10 temperature areas which could control the temperature more precisely.
Most complicated PCBA boards required special consideration during reflow soldering, especially for the two-sided PCB Assembly. Two-sided PCB assembly need do double printing solder paste and reflow soldering for each side separately. Normally the side with fewer and smaller parts be mounted first and then thethe other side.
Step 5: Inspection and Quality Control
Once reflow soldering done, we will need do visual inspection, AOI, X-Ray for checking the PCBA boards quality.
For visual inspection, normally it would be used for prototype order which is flex and quick and low cost. Our QC & QA guys are very experienced, they would follow the operation manual to check the parts placement and soldering quality and parts orientations, etc.
For AOI, also called Automated Optical Inspection, normally it would be used for production orders to check the parts placement and soldering quality and parts orientations, etc.
For X-Ray, normally it used for checking the BGA parts soldering quality. It could check the soldering points through the BGA parts and check if any BGA pads short connect or other issues.
Step 6: THT Assembly
Some of the PCBA boards not only have SMD parts but also PTH components. Normally we could do THT Assembly by Manual Soldering and Wave Soldering:
• Manual Soldering, it normally used for prototype orders and the PTH Assembly would be done by hand. It has no many quantity, we would have one or more staff to insert the PTH components in the correct place on PCB Board, and another persons to solder them well.
• Wave Soldering, it normally used for big production orders and it's kind of automatical process. We would have one or more staffs to insert the PTH components in the correct place on PCB board, and then put the PCB boards on conveyor belt to go through the wave soldering oven. It has a wave of melted solder washes over the bottom of the board which could solder all of the pins on the bottom of the board quickly and in high quality.
Step 7: Final Inspection and Functional Test
Testing is the final and most important step in PCB assembly process, as it determines the success or failure of the process. After THT assembly done, the PCBA solering process finished, a final FCT test will be applied to test the PCBA functions and see if all work well.
For FCT Test, normally customers can design a custom functional test fixture for their PCBA boards, or we can make the custom test fixture following the test guide file provided by customers. And we promise 100% FCT test would be done before shipping the PCBA boards to our customers.


